
We are going to learn how to work with the basic texts in SwiftUI, styles and functions that can be applied to them to vary the underline, bold, strikethrough, safe and normal text input in SwiftUI and the state properties.
This entry is intended to be an introduction to managing success using SwiftUI, which is a fundamental feature in any application today and of course in mobile development cannot be the exception.
We are going to see two fundamental types of text, that of simply showing a dry text and that's it, that is static by the application and also text fields to request our user to place or provide a content text.
How to display a text in SwiftUI
Nothing could be easier to display a text using SwiftUI, for that we have a class called Text that, as you can imagine, expects to receive a text or String:
struct ContentView: View {
    var body: some View {
        VStack{
            Text("Hello World")
        }
     }
}
And with this, we have the following result:

Variants with text
Vary styles to the text, of course, we have multiple methods to style the text, bold, strikethrough, separation between letters and lines, etc; for that we use the following methods:
fontWeight() method
With this function we can show in bold or vary the weight of our text:
Text("Hello World").fontWeight(.bold) 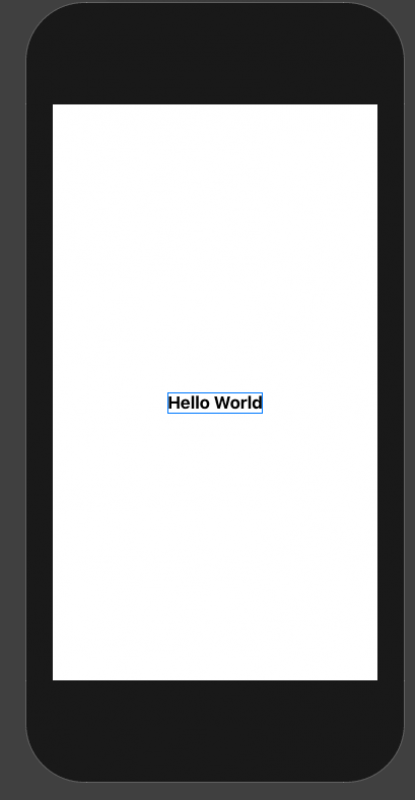
italic() method: display text in italics
For this we use the italic function:
Text("Hello World").italic() 
font() method
With this function we can indicate the type of text or the size by means of already predefined options such as headline for the headers, body, for the body, etc:
Text("Hello World").font(.headline)underline() method
With this function we can indicate an underline for our text.
Text("Hello World").underline()baselineOffset method
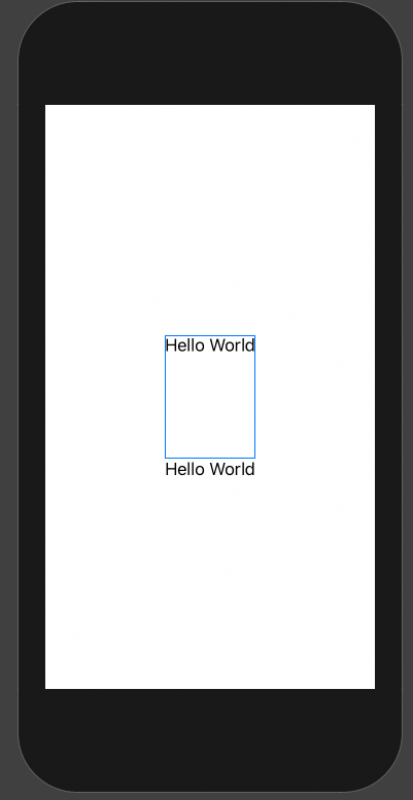
With this option we can define the spacing between the text with other content, which of course, can be with other text:
        VStack{
            Text("Hello World").baselineOffset(100.0)
            Text("Hello World")
        }
More functions on text
Of course, there are many more functions that you can use with the text, such as background to change the background color, multilineTextAlignment to indicate the type of alignment and even the space between letters with lineSpacing; we also have another to indicate the separation between characters with kerning.
Text entry
In order to receive texts from the user through the famous text fields or HTML input, we can use the following functions, which allow us to build blocks like the following:
In this case we have two, for plain texts and these obfuscated ones that we use for protected fields such as passwords.
To use them, we have to use variables or properties of the class, to be able to consult these values or consume them whenever we want in the application, with this we can obtain the data and be able to send it to a server through a Rest resource, save it in a database local data and a long etc; Anything you want to do with these values or texts you can do.
State variables
In order to use these values, you have to declare these properties as states, with which the SwiftUI framework knows that these properties can be set on these types of fields.
@State var password = ""
@State var user = ""
var body: some View {
VStack{
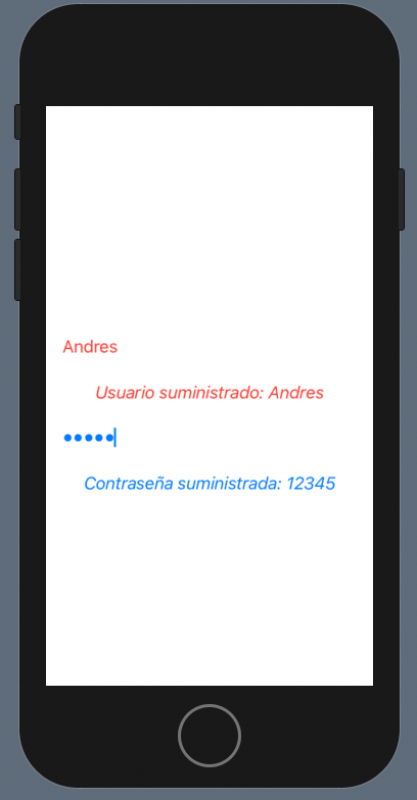
TextField("Usuario", text: $user)
.foregroundColor(.red)
.padding()
Text("Usuario suministrado: \(user)")
.foregroundColor(.red)
.italic()
SecureField("Contraseña", text: $password)
.foregroundColor(/*@START_MENU_TOKEN@*/.blue/*@END_MENU_TOKEN@*/)
.padding()
Text("Contraseña suministrada: \(password)")
.foregroundColor(/*@START_MENU_TOKEN@*/.blue/*@END_MENU_TOKEN@*/)
.italic()
}
}

Develop with Laravel, Django, Flask, CodeIgniter, HTML5, CSS3, MySQL, JavaScript, Vue, Android, iOS, Flutter