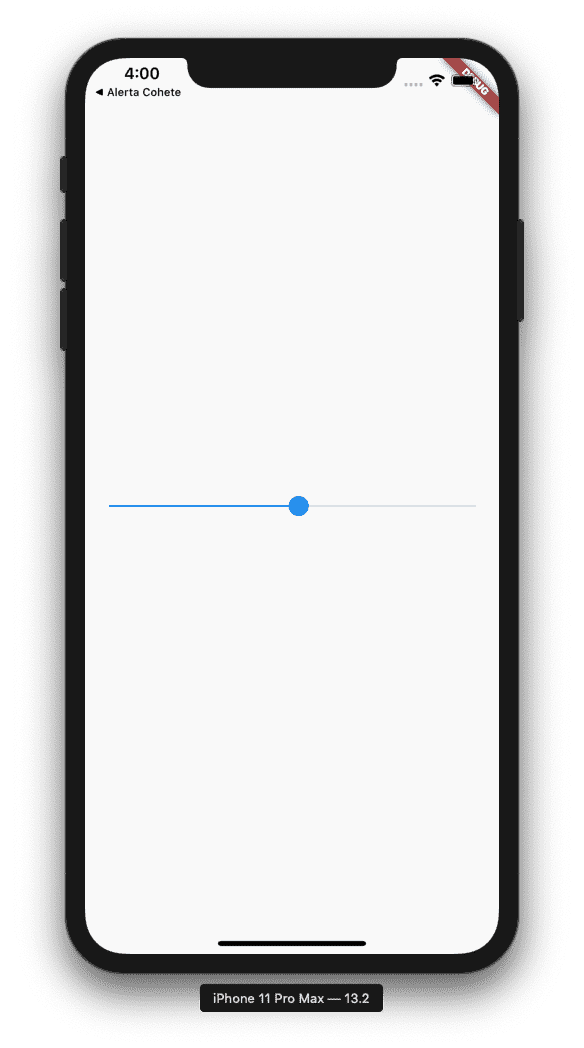
The Slicer type widget is ideal for defining closed or bounded value ranges, and in Flutter it's very easy to use.
The slider is a component that you can find on multiple types of platforms, such as on the web and of course as a base in Android and iOS application development environments to indicate a range of values based on a lower and upper quota.
We are going to learn how to use the Slider widget in Flutter; It is a fairly simple plugin to use and we are going to see what its fundamental properties and other very interesting ones are.
Flutter Slider Minimal Configuration
Let's present the source code of the first example and then we'll analyze it a bit:
   return Slider(
      value: raiting,
      min: 0,
      max: 100,
      onChanged: (newRaiting) {
        setState(() {
          raiting = newRaiting;
        });
      }
    );
With this simple code that practically explains itself and that is one of the interesting aspects that Flutter has; we get the following:

Statefulwidget to allow updating the state of the slider
The first thing you have to take into account is that in order to manage the ranges, you have to forcefully establish a statefulwidget to be able to update the state of the widget every time the user changes its value; for this reason you will be able to see the setState function in the rating
Required properties
We also have to forcefully define the min property and the max property to indicate the minimum and maximum value of the slider's range; of course, you also have to indicate the value to indicate the initial value of it.
Other interesting properties for the Slider
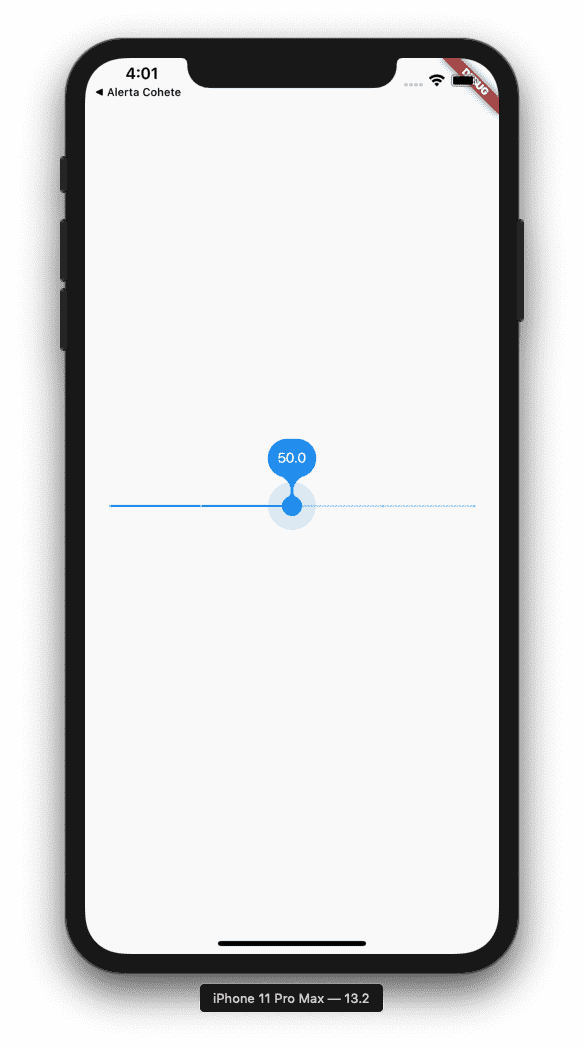
Other properties that are highly, highly recommended to use together with the Slider, would be the label, to show a label or text every time the user is updating the Slider value from the interface; you can also apply divisions to it for greater control of the Slider:
   return Slider(
      label: "$raiting",
      value: raiting,
      divisions: 4,
      min: 0,
      max: 100,
      onChanged: (newRaiting) {
        setState(() {
          raiting = newRaiting;
        });
      }
    );
The rating is simply a variable that is in the range that we define the Slider:
double raiting = 50.0;
And with the above code, we get the following:

Develop apps in Flutter and native on Android and iOS
Remember that in the most complete course to develop your web apps with the Rest Api and native apps on Android and iOS and with flutter you will be able to find it at the best price in this Blog; here you will learn to work with widgets like these and many more.

Develop with Laravel, Django, Flask, CodeIgniter, HTML5, CSS3, MySQL, JavaScript, Vue, Android, iOS, Flutter
